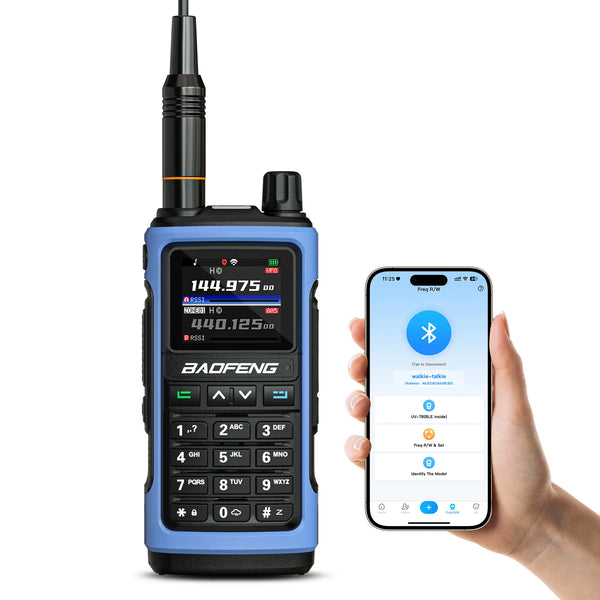
--By Black Flag Civilian
Note: This is not necessarily the “best” way to set up your encrypted comms, this is just the simplest and easiest way. Take from it what you will.
Disclaimer: Check all regulations in your region before transmitting (TX). Generally, in emergency situations, you are permitted to TX without license
Preparation before Programming
- Baofeng DM-32UV DMR Radio
- Baofeng Programming Cable
- Windows Computer
Programming Process
- Go to the BaofengRadio.com Downloads Page
- Scroll down to the DM section and find the software for the DM-32UV
- Download & install the program "CPS" on your computer
- Use your Baofeng programming cable to connect your Windows computer to your DM-32 radio
- Open the CPS software and read the data from your radio (Top Menu Bar > Program Dropdown > Read data)
- Create a
COMMSfolder and save these settings as a backup
To simplify display and reduce your light & sound signature:
- Alert Tone > Radio Silent - Check Box
- Display > Background Brightness - Set to "1"
- Work Mode A & Work Mode B - Set both to "MR"
- Dual Watch Mode - Set to "Single Mode"
- Other > Disable All LEDs - Check Box
Go to the "Digit" menu:
-
Digit > DMR ID - Assign unique name & radio ID
- Use consistent naming convention on all radios
- Example Name:
RADIO01 - Example Radio ID:
9101
-
Digit > Frequent Contacts - Create group call
- Set Group Call Name (ex.
GROUPCALL1) - Set TG/DMR ID (ex.
6401) - Set Call Type: Select "Group Call"
- Set Group Call Name (ex.
- Generate a random 64-character hexadecimal encryption key
- In CPS software, navigate to Digit > Digital Encrypt Systems:
- Set Name (ex.
Encrypt1) - Set Type: Select
AES-256 - Set Encryption Key: Input your 64-character key
- Click "Ok" to confirm
- Set Name (ex.
- Go to Digit > RX Group List menu
- Create or edit
RX Group 1:- Set Name (ex.
RX Group 1)
- Set Name (ex.
Navigate to Public > Channel menu:
- Create a new channel or edit an existing one
-
Set RX Frequency & TX Frequency:
- Use same frequency for both (ex. 422.5000, 431.7250)
-
Set TX Power:
- Recommend Low as default
- Only use Medium/High when needed
-
Set TX Contact:
- Select your Group Call (ex.
GROUPCALL1)
- Select your Group Call (ex.
-
Set RX Group List:
- Select your RX Group (ex.
RX Group 1)
- Select your RX Group (ex.
-
Set Color Code:
- Must match across all radios
- Check "Encryption" box
-
Set Encryption ID:
- Select your encryption key (ex.
Encrypt1)
- Select your encryption key (ex.
-
Set DMR ID:
- Should auto-populate with your radio name
- Click "Ok" to save channel settings
- Save the settings file to your
COMMSfolder using the radio's name - Write to radio: Top Menu Bar > Program Dropdown > Write Data
For each additional radio:
- Open your saved settings file in CPS
- Navigate to Digit > DMR ID:
- Update Radio Name & DMR ID following your convention
- Example:
RADIO02,9102
- Save as new file under this radio's name
- Write settings to the radio
- Repeat until all radios are programmed
TROUBLESHOOT: Encryption not enabled?
If the encryption “shield” icon is missing from the display on your channel, then the encryption key is NOT YET ACTIVE. Don't worry, just follow these easy steps:
- Using the physical radio, click the “Menu/Ok button” to access the menu.
-Navigate Setting > (2) Channel Set > (13) Digital Encrypt > (2) Encrypt List
- Select the Encryption Key you created earlier (ex. Encypt1) from the menu - Exit the menu, navigate to the home screen, and confirm the “shield” icon is present on the channel you created, signaling that the Encryption Key is active.
Download the the PDF instructions here and share with your friends
Instructions Video


