--By Jay Farlow, W9LW
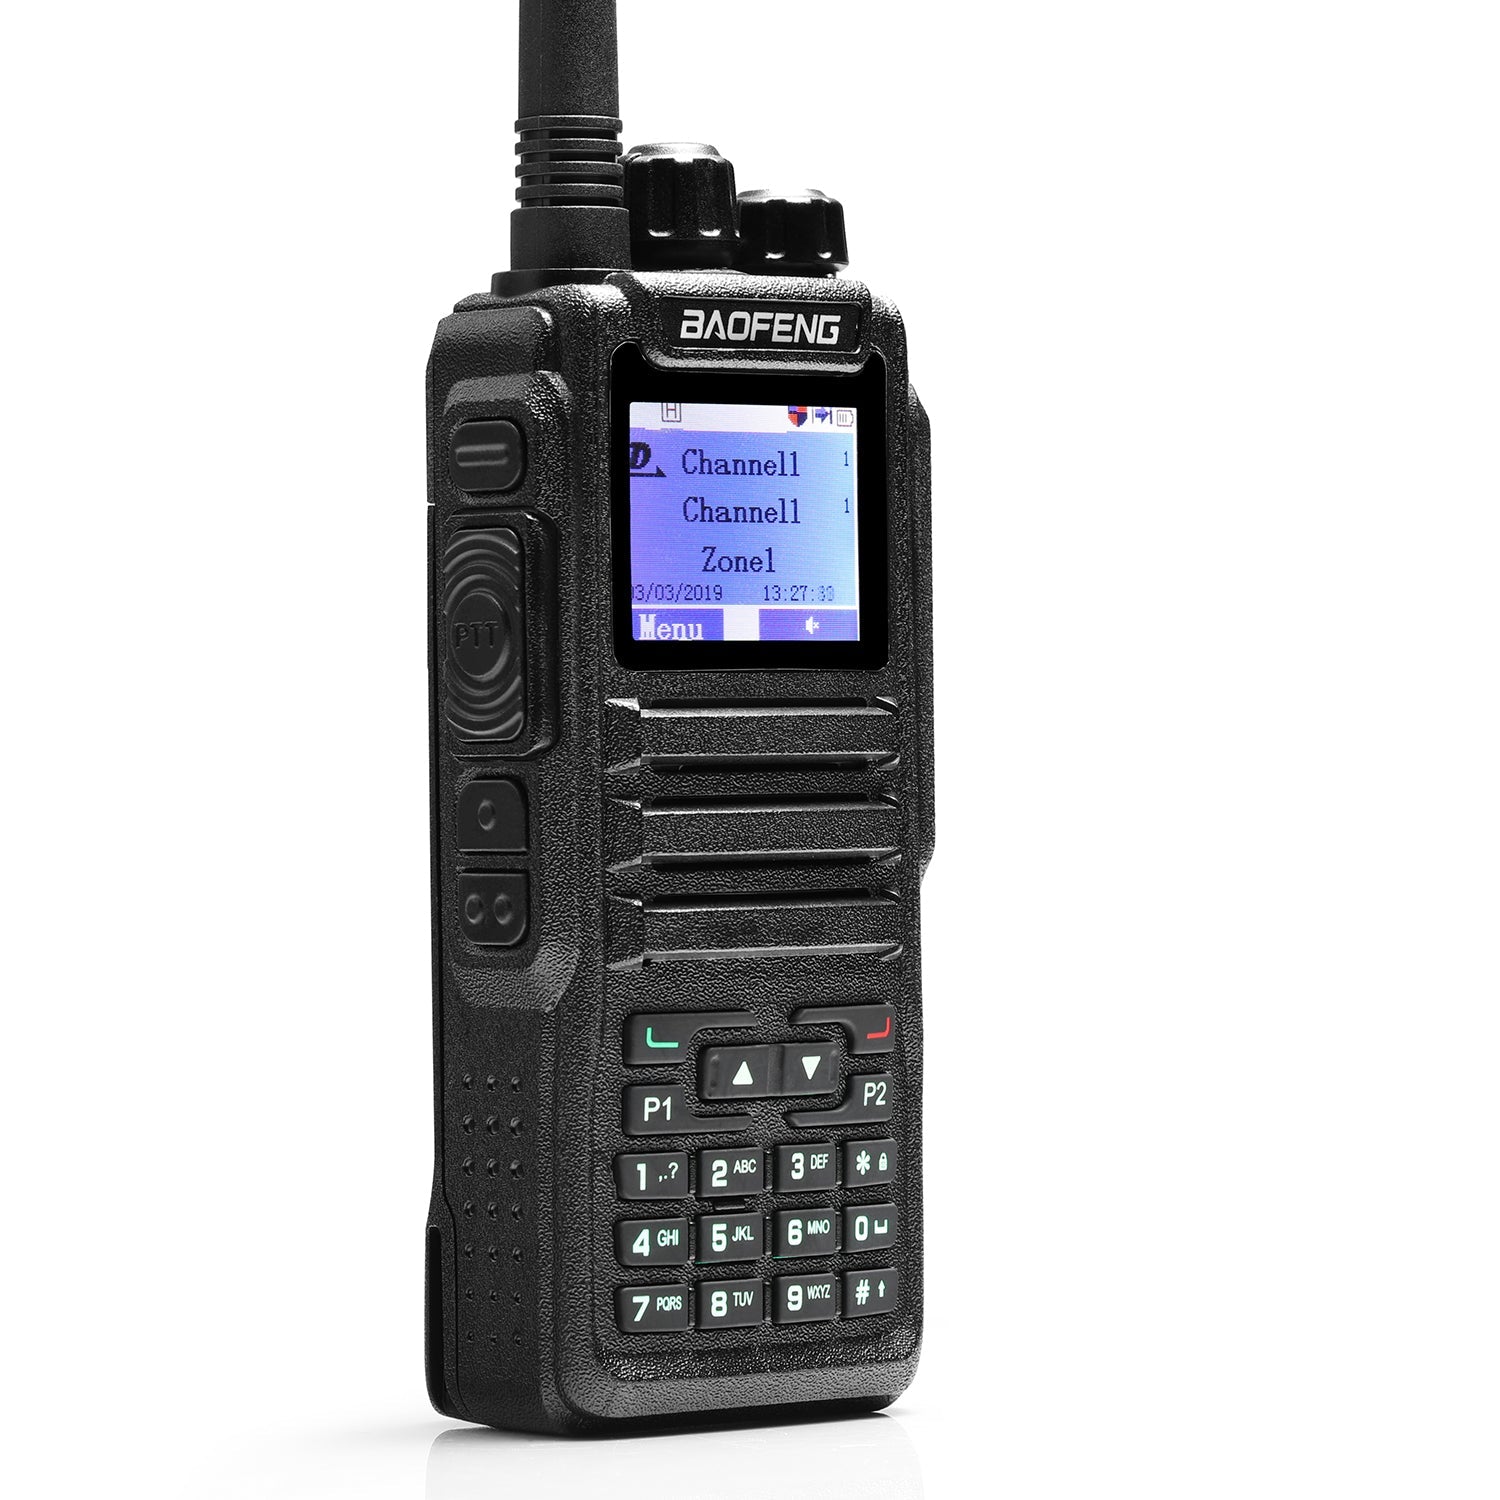
In Part One of this series, I covered preparations to program a DMR radio. This part covers entering data into the Baofeng DM-32UV customer programming software (CPS) app to enable the radio to transmit and receive on DMR (digital) repeaters or hotspots. This series of articles is based on the newest CPS that was available at time I wrote it, “CPS DMR V1.45.”
Read default data from the radio
Start by reading the radio’s codeplug with the CPS and saving it to a file for future reference.
1.Start the CPS app.
2.Click the “Setting” menu in the CPS menu bar and then click “COM Setting.”
3.In the COM dialog box that opens, click the drop-down arrow to the right of the second field, labeled, “COM.”
4.Make mental note of the numbered COM ports that are displayed, so you’ll recognize a new option later.
5.Click the “Cancel” button.
6.Plug the appropriate programming cable (see Part One of this series) into one of your PC’s USB ports.
7.Repeat steps 1 and 2 above and choose the new COM port; the one that didn’t exist before you plugged in the programming cable.
8.Plug the programming cable into the radio.
9.Power on the radio.
10.In the CPS menu bar, click “Program(P)”.
11.Click “Read data”.
12.In the “Read data from radio” dialog box, click the “OK” button.
After the “Read successful!” message appears, click the “OK” button on that message.
Save the file to your PC. If the radio is new and you just read its factory configuration, give the file a name such as “DM-32UV default codeplug.”
Now, save the file under a new name, so changes you make don’t affect the original codeplug. I use a file name that identifies the radio and the codeplug version, based on the date and time I created the codeplug. For example, I use a file name like “W9LW DM-32UV 202509171900” to identify that the codeplug is for my radio (not the radio of a friend), that it is for a DM-32UV, and that it was created in the year 2025, on the ninth month (September), on the 17th day of that month, at 7 p.m. (1900 in 24-hour time). The string “202509171900” becomes a unique version number to identify the codeplug. Every time in the future that I edit the codeplug, I first save it under a file name that incorporates the current date and time before I change anything. This allows me to always return to the previous version
Do not create a new, empty codeplug with the “File:New” menu item, unless you know how to read Chinese. In CPS version 1.45, doing so creates a codeplug that changes that radio’s on-screen menus to Chinese. Although the CPS has a “Language” selection on the “Other” tab of the “Optional Features” dialog box, that item is unavailable (greyed out). The only safe way, therefore, to create a new codeplug without changing the radio’s menus to Chinese is to read a radio that has English menus, change the resulting file, and then write it back to the radio.
You can now edit the codeplug to customize it for your needs.
Enter your DMR ID
Part One of this series explained how to obtain a numeric DMR ID. Assuming you have received it, enter it into the CPS.
In the menu tree in the left column of the CPS, click the plus sign next to “Digital” to open the digital section of the menu tree and then click on “DMR ID.” A table will appear. Double-click on first row of the table. A “DMR ID List 1” dialog box will appear. In the “ID” field, type the personal numeric DMR ID that you received from radioid.net. In the “Name” field, type your call sign, your name or both. I usually type, “W9LW Jay.” Click the “OK” button. See Figure 1, below. Optionally delete the other rows of the DMR ID table. 
Figure 1: Entering the user's DMR ID.
Enter talk groups
In Part One of this series, I suggested creating a list of talk groups that are supported by your local DMR repeater and that you plan to use. Have that list handy.
In the tree view on the left side of the CPS, under “Digital,” click “Talk Groups.” A table will appear. Double click on the first row of the table. A “Talk Groups 1” dialog box will appear. In the “TG/DMR ID” field, type the numeric ID of the first talk group on your list, e.g., 1 for the DMR-MARC network’s worldwide talk group. In the name field, type the talk group’s name, e.g., “Worldwide 1” or an abbreviation that’s meaningful to you, e.g., “WW 1.” Leave the “Type” field set to “Group Call.” See Figure 2, below.
As a personal preference, I include the talk group number in the name field, even though I must also put that number in the TG/DMR ID field. I do this because different networks use different numbers with the same names. For example, the DMR-MARC network uses number 1 for its worldwide talk group, but the BrandMeister network uses 91 for its talk group of the same name. I need both in my codeplug because I intend to use different repeaters, of which some are connected to the DMR-MARC network, and some are connected to the BrandMeister network. Including the numbers in the talk group names will help me distinguish them later.
Click the “OK” button. To create another talk group, double-click on another row in the table and then repeat the above procedure. If necessary, click the Add button below the talk group table to add a row. Do this for every talk group in your list. 
Figure 2: Entering talk groups.
It is possible to download the entire list of BrandMeister talk groups from the network’s website and import the entire list into the CPS. I choose not to do this for several reasons, including that I use some repeaters that are not connected to BrandMeister servers and that importing the entire list unnecessarily clutters my talk group list with talk groups that I will never use.
Parrot or echo – a special “talk group”
Most DMR repeaters support a service that echoes whatever you transmit. Some people refer to this as the “parrot” or “echo” service. It helps users know whether they are within range of the repeater and how well the repeater hears their signal. There are different IDs for parrots, depending on the network to which your local repeater is connected.
For repeaters on the BrandMeister network, the parrot is a private call to ID 9990. In this case, the talk group type must be set to “Private Call” and the TG/DMR ID must be set to “9990.” I name this entry “Parrot 9990P” in my codeplug. See Figure 3, below. 
Figure 3: Entering data for the BrandMeister parrot in the Talk Groups dialog box.
For repeaters on other networks (DMR-MARC, etc.) the parrot is often talk group 9998 and must be entered as a group call, just like any other talk group.
It’s therefore important to know to what network your local repeater is connected. A repeater’s list of supported talk groups might help you determine what network it uses. For example, if the repeater uses talk group 91 for Worldwide, it’s probably a BrandMeister repeater. If it uses talk group 1 for Worldwide, it’s probably not a BrandMeister repeater. If you’re not sure, ask the repeater owner what network it is on and/or what ID to use for the parrot.
Create channels for repeaters and their talk groups
Create a channel for each combination of repeater and talk group. For example, if you plan to use talk group 1 on two different repeaters that operate on different frequencies, you’ll need two channels devoted to talk group 1, one for each repeater, because the repeater frequency and talk group information are stored in each channel record.
In the tree view on the left side of the CPS, in the Public section, click on “Channel.” A table will appear. Double-click on the first row of the table. A new “Channel Information 1” dialog box will appear.
In the Channel Information dialog box, enter information in the following fields:
- Channel Name: Enter a relevant name. I always include two bits of information in each channel name; first, I identify the repeater and then the talk group. For example, if I’m creating a channel to use the Worldwide talk group on a repeater in Chicago, I might name the channel “Chi WW” for “Chicago repeater, Worldwide talk group”.
- RX Frequency: Enter the frequency on which you will receive the repeater (the repeater’s transmit frequency, sometimes called the “output frequency”).
- TX Frequency: Enter the frequency on which you will transmit to the repeater (the repeater’s receive frequency, sometimes called the “input frequency”).
- Channel Type: Set this to “Digital” for DMR use.
- TX Power: Set this to the lowest power level that will provide access to the repeater. This will be the default power level for this channel. While operating the radio, you can increase or decrease the power level as needed.
- Tx Admit: Set this to “Color Code Idle.” This setting will help you avoid unintentionally interfering with an ongoing conversation.
- Forbid Talkaround: Check this box to prevent the radio from unintentionally entering talkaround mode. Otherwise, the radio might transmit on the channel's RX Frequency.
- TX Contact: This setting determines the talk group on which the radio will transmit when this channel is selected. It also controls what talk group the radio will receive, with a couple exceptions that I’ll explain in a different installment in this series. Set TX Contact to the talk group you want to use on this channel. Using the example from the Name field above, I’d choose “Worldwide 1.”
- Color Code: Set this to the color code that this channel’s repeater uses. Part One of this series discusses color codes and how to learn them.
- Slot Operation: Set this to the time slot that the repeater uses with the talk group you chose above. As I explained in Part One, some repeaters require you to use the time slot the repeater owner has chosen for the talk group. Other repeaters, especially those connected to the BrandMeister network, allow you to use any time slot with any talk group, but owners of those repeaters might have preferences that you should learn.
Leave all other settings in the Chanel Information dialog box alone for now. See Figure 4, below. 
Figure 4: Entering channel information.
Click the “OK” button. To create another channel, double-click on another row in the table (or click the “add” button as necessary) and then repeat the above procedure.
For each repeater, you’ll want a channel for every talk group you plan to use on that repeater. Although it is possible to change a channel’s talk group from the DM-32UV key pad, using that feature requires you to remember or look up the time slot you should use with the selected talk group. Creating a channel for every talk group that you plan to use eliminates the need to remember such details.
Zones
The channels you create in the CPS will not appear on your radio unless you create a zone and add them to the zone. A zone is analogous to a memory bank on a typical, amateur FM radio. Unlike such radios, however, there is no default, “all channels” zone on the DM-32UV. You must therefore put every channel you want to see on your radio in at least one zone.
My personal preference is to dedicate a zone to each DMR repeater, to hold only channels associated with that repeater.
In the tree view at the left side of the CPS, in the Public section, click on “Zone.” A table will appear. Double click on the first row of the table. A “Zone Information 1” dialog box will open. Enter something relevant into the Zone Name field, such as the location or name of the repeater that this zone is for. In my example (see Figure 5, below), I might enter “Chi 442.975” for the 442.975 MHz repeater in Chicago.
In the Available Channel list on the left side of the dialog box, select a channel that you want in this zone. To the right of the Available Channel list, click the button that points to the right. The channel you selected will move to the Channel Members list. Unfortunately, the CPS version on which I based this article (1.45) does not support moving multiple channels at a time, so repeat the above process for each channel that you want to add to the zone. See Figure 5, below.
Optionally, select a channel in the Channel Members list and then use the “Up” or “Down” buttons to move that channel up or down in the list. This is how you control the order in which channels appear on your radio.
When you are finished, click the “OK” button. If you wish to create another zone, click the “Add” button if necessary, double-click on a row for the new zone and then repeat the process above. 
Figure 5: Creating a zone.
DMR hotspots
Some users install DMR hotspots in their homes, autos or elsewhere. These devices act as gateways between a radio frequency and the Internet (via Wi-Fi or ethernet). Configuring such a hotspot is beyond the scope of this article.
Configuring the DM-32UV for hotspot use is, however, essentially the same as the procedure described above, with a few exceptions. Hotspots typically operate on simplex, meaning the transmit and receive frequencies in the CPS channel dialog box must match. Most simplex hotspots use time slot 2 for all talk groups, so all channels configured for such hotspots would need Slot Operation set to “2.” It is incumbent on the reader of this article to know how their hotspot is configured and what talk groups it supports.
Save your work
Save your codeplug to your computer, using a file name that indicates this codeplug’s version number.
Write the codeplug to the radio
Plug the programming cable into the radio and power on the radio. Click “Program(P)” in the CPS menu bar, click “Write data,” and then in the “Write data to radio” dialog box, click the “OK” button.
After the “Write successful!” message appears, click the “OK” button on that message and then click the “Cancel” button in the “Write data to radio” dialog box. CPS version 1.45 does not automatically close the “Write data to radio” dialog box after you acknowledge the “Write successful!” message.
The above instructions explain the minimum entries one must make to transmit and receive on DMR. The next article in this series will cover creating channels for FM (analog) frequencies.
👉Programming the Baofeng DM-32UV Part Three: Cover FM (analog) Frequencies

6 comments
It doesn’t appear the author is responding to comments but I’ll leave my question on the off chance that changes. I’m new to DMR and the DM32-UV and have set up a few talk groups (TG) and channels. What I cannot figure out is what I’m supposed enter for the “RX Group List” for each channel? Since I want to Receive from the same TG I’m transmitting to, do I create a corresponding RX Group for every TG and select those for each individual channel?
With my Baofeng DM32-UV radio i experience “link timeout” issue, when i use it via Raspberry PI MMDVM duplex hotspot. It connects only randomly to the hotspot RF, but in most of the cases, it does not connect. I tried this same procedure with my other three radios (Retevis RT3S, Tyt MD9600, etc), and those work as expected, without issue. I have double-checked the CPS configuration, it is 100% good. I have read about the same issue on many forums, facebook groups; so the problem is widely known. It seems for me, it is like an adjust/calibration issue in the radio; i guess, it could be solved by a firmware fine-tuning/development….
As a neophyte with a month’s worth of ‘local’ analog nets under the belt, DMR and the DM-32UV seems like Mt. Everest. However, reading and researching never hurt anyone. Please keep the tutorials coming. This is truly serving a purpose. 73s. kilo golf five hotel india tango —-Mark
Marc, I don’t know if you’ll check back to see this, but in case you do, the problem might be that “talk around” is activated. In talk around mode, the radio receives and transmits on the channel Rx frequency. You can check to see if talk around is activated (and de-activate it) using the radio’s menu: Menu > Settings > Radio Settings > Other Func > Talk Around. Set it to “Off” and see if that helps. If it does, edit your codeplug by checking the “Forbid talkaround” check box on the CPS Channel Information dialog box to prevent the radio from entering talk around mode when that channel is selected.
I’m having difficulty programming the 9990 Parrot and 4000 Disconnect contacts (these are Private Calls, not Group Calls) on duplex hotspots that utilize separate receive and transmit frequencies and have multiple time slots available.
While this has originally worked properly for some repeaters on the DM32-uv using the latest v1.45 CPS and v1.47 Firmware, adding the channels later for my hotspots won’t properly operate on duplex, insisting on transmitting and receiving on the hotspot output frequency.
I’m about to reset a radio and try dumping the channel definitions to a CSV file – verifying that they are correct and then rebuilding the programming.
Excellent article !